|
Flexiv TDK APIs 1.6.0
|
|
Flexiv TDK APIs 1.6.0
|
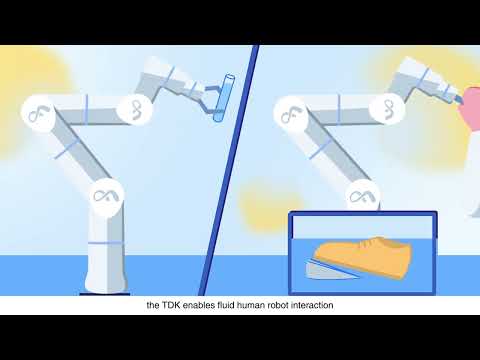
Flexiv TDK (Teleoperation Development Kit) is an SDK for building custom robot-to-robot or device-to-robot teleoperation applications with Flexiv's adaptive robots. It enables synchronized, force-guided motion using high-fidelity perceptual feedback and supports both LAN (Local Area Network) and WAN (Internet) connections.
Flexiv TDK has been recognized on the Manipulation Net Peg-in-Hole Leaderboard. The Manipulation Net is a public benchmark for robotic manipulation in the real world at scale with any robot at any time and anywhere. This provides external evidence for the contact-rich manipulation capability relevant to TDK use cases, including compliant insertion, alignment, and force-sensitive teleoperation workflows.
🎬 Flexiv's TDK | Teleoperation Made Simple
*(Click image below to play)*
Flexiv TDK Page is the main reference. It contains important information including user manual and API documentation. The instructions below serve as a quick reference, and you can find the full documentation at Flexiv TDK Manual.
| OS | Processor | Languages | Compiler Requirements | Python Versions |
|---|---|---|---|---|
| Ubuntu 22.04+ | x86_64, aarch64 | C++, Python | GCC ≥ 9.4, CMake ≥ 3.16.3 | 3.8, 3.10, 3.12 |
>💡 Need support for other platforms? Contact Flexiv.
On all supported platforms, the Python package of TDK and its dependencies for a specific Python version can be installed using the pip module:
python3.x -m pip install spdlog flexivtdk
NOTE: replace 3.x with a specific Python version.
After the flexivtdk Python package is installed, it can be imported from any Python script. Test with the following commands in a new Terminal, which should start Flexiv TDK:
python3.x
import flexivtdk
flexivtdk.__version__
Accurate time sync is critical for teleop over the internet. For WAN teleop, there are two edge computers, one acting as a server and the other as a client, and the system time of these two computers needs to be calibrated.
Note: This is only required for WAN Teleoperation, users can skip this section if only using LAN teleoperation.
System time: the instantaneous offset between local system clock and NTP reference
RMS offset: the long-term average offset (root mean square) over time
| Network Condition | Good (ms) | Acceptable (ms) | Poor (ms) |
|---|---|---|---|
| System time | < 1 | 1 - 10 | > 10 |
| RMS offset | < 5 | 5 - 20 | > 20 |
To allow a regular user to create high-priority (real-time) threads without sudo, configure system to apply real-time and nice priority limits:
Log out and log back in (or reboot) for the settings to take effect.
To run an example Python script in this repo:
Check each example’s source code for usage details.
The TDK is distributed as a modern CMake project named flexiv_tdk.
Example: ~/tdk_install
🌐 Internet connection to GitHub is required for 3. Build & Install Third-Party Dependencies and 4. Configure & Install TDK.
After the TDK library is installed, it can be found as a CMake target and linked to from other CMake projects. Using the provided examples project for instance:
NOTE: -D followed by CMAKE_INSTALL_PREFIX tells the user project's CMake where to find the installed TDK library.
LD_LIBRARY_PATH is used to specify where the shared libraries of the dependencies are installed.
Check each example’s source code for usage details.
The complete and detailed API documentation of the latest release can be found at API Reference. The API documentation of a previous release can be generated manually using Doxygen. For example, on Linux:
Open flexiv_tdk/docs/api/doxygen/index.html in your browser.